The roof is a crucial part of your home, protecting you from the elements. When roof leaks occurs, it can damage furniture and other belongings, ruin insulation, cause mold, and increase energy bills.
While a professional should be called to repair the leak, you can limit the damage by fixing it yourself from the inside. This article will teach you how to do this using roofing tar, plywood, and spare shingles.
1. Inspect the Roof
The first step in fixing a leak is to find the source. You can use a flashlight and a good look through the insulation of a ceiling joist or wall cavity to locate damp spots. Water usually pools in nooks and crannies, so looking for places where shingles meet, roof valleys, chimneys or skylights is a start.
It’s important to note that water tends to travel downhill, so stains or spots of moisture in the ceiling might not be near where the actual hole or leak is occurring. A walk around your roof is also helpful to see the overall condition of the shingles and flashing. A damaged shingle is often the cause of a roof leak, but rusty metal flashing or rotten rafters can also be to blame. These issues might be repairable with silicone caulk or a patch. If extensive damage is found, it is best to have the issue looked at by a professional.
2. Make a Temporary Patch
If you can’t get a roofer out right away, there are ways to buy yourself some time. One way is to divert the water by putting a nail into the hole that’s leaking. This will attract the water, allowing it to funnel in one direction rather than flowing across the entire ceiling. Another way is to put a large bucket under the leak and check and empty it regularly.
You can also make a temporary patch using plywood or spare roofing shingles and roofing tar. On the inside, spread the tar with a putty knife, and then place your plywood or shingle on top and spread more tar around the edges to hold it in place.
Before you leave the attic or crawlspace, use a pencil to outline the area where you’re going to apply the sealant. This will help you track down the leak more easily when it rains again. And don’t forget to have a buddy with you in case something goes wrong.
3. Puncture the Bulge
Storms can leave behind debris that traps water against your roof, causing it to seep through. Look for pooling water or standing water, and also check for large debris, like tree limbs that may have punctured or weakened roofing materials upon impact. If possible, sweep away leaves, pine needles, and twigs to clear the area.
You can also try spraying your roof with a hose to spot areas of discoloration that indicate where water is penetrating the ceiling drywall. This is safer than getting on the roof, but you should only do so if you can walk and feel comfortable doing so. Look for stains at the intersections of the roof and walls, as well as around pipe and chimney penetrations.
Once you locate a leak, place a bucket or other container beneath it to catch the water. Alternatively, you can make a simple bottle funnel from an empty plastic jug to redirect the water outside.
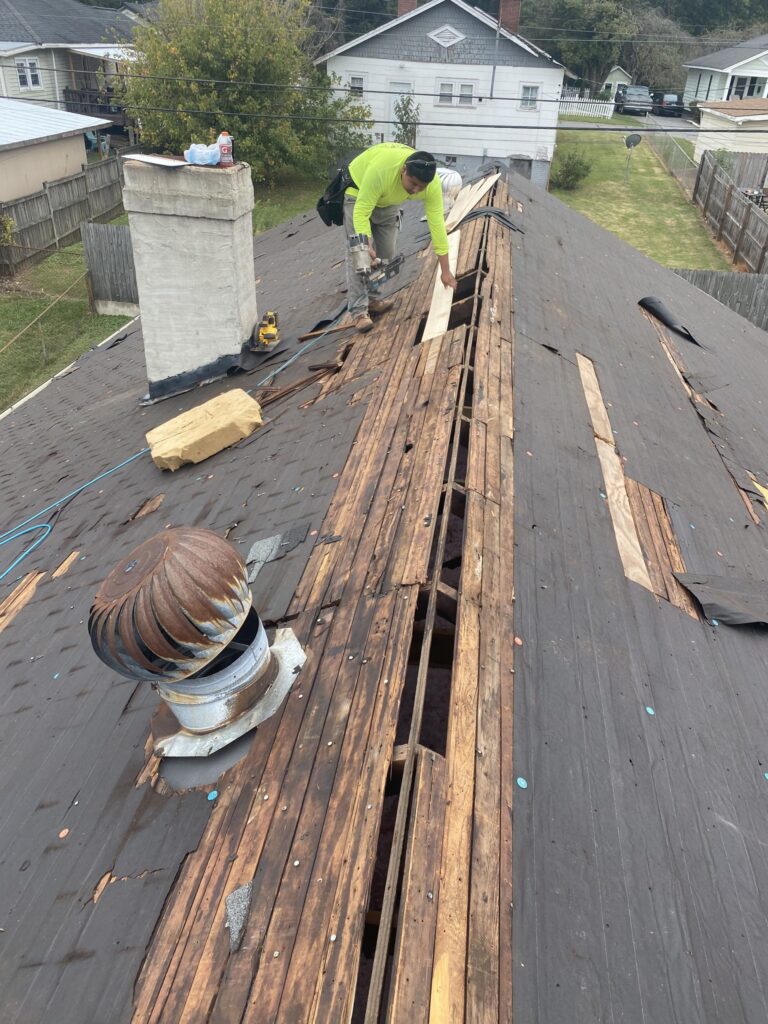
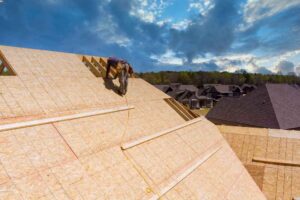
4. Replace the Shingles
A leaking roof might seem inconvenient, but over time it will ruin your belongings in the attic and ceilings. It will also damage your home’s framing and sheathing, rot insulation, and cause mold. It’s best to fix a leaky roof as soon as you notice water stains on your ceiling.
For a permanent solution, you need to repair or replace the shingles that are leaking. If a hole is allowing water to get through the shingle, replacing it with new shingles should stop the leak.
Sometimes the problem is the flashing around a chimney or vent, and in those cases, replacing it with galvanized metal will solve the problem. Also, if the step flashing, which seals the joints between the shingles and the wall, is rusted through or loose, you can replace it with copper flashing.
Another common source of leaks is a protruding nail hole in the shingle. This can be repaired by prying the neighboring shingles loose and removing the nails with a flat bar. Then you can nail in a shingle replacement over the hole.